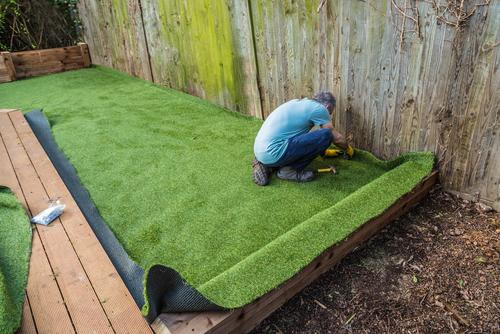
Artificial lawns have many benefits compared to the all-natural alternative. They are far lower maintenance, with no need to go through tiresome processes like summertime hosepipe watering, extensive and tedious removal of unwanted weeds, or regular bouts of pest control. Artificial lawns work well in your outdoor space all year round, with no worries about mud in the autumn or winter, no concern about cracking, dusty ground in the summer, and no trouble with invasive species of weed during the spring. They are also ideal for pets, and there will be no trail of muddy pawprints following their return from their outdoor adventures!
With all of these great benefits, it's no wonder why faking it has become the number one choice for so many lawns in recent years. Yet one factor that often holds people back is the installation of artificial grass. Many people assume that artificial grass installation is tricky, to say the least, with the preparations and processes involved being costly, difficult, and complicated. Of course, in reality, nothing could be further from the truth, and we are here to put this particular misconception to bed.
Whether you choose to have our expert and highly efficient team come and install your new lawn for you, or you choose to do this yourself, in both cases, it is absolutely vital to know just which variety of artificial grass is the right type for you. Once you have made that decision, the following steps can help to get you ready for installation day.

Remove the Natural Existing Grass
This initial step might seem obvious, but it is also commonly overlooked. The existing top layer of grass that is currently in place will need to be completely removed, usually with a spade and a turf cutter. To replace grass with artificial grass, you need a smooth and measured area dug into the ground where you will install your new synthetic surface. During this process, be sure to dig down as deep as you can to avoid any extraneous plant matter being left behind. Grass roots can go deeper than you might think, so be sure to dig down deep.
A common mistake is to assume that artificial grass can just be layered over natural grass, which will then eventually die and decompose as it is no longer exposed to sunlight and will receive very little in the way of water. While this would happen, in reality, the decomposition procedure is not uniform and you could end up with an artificial lawn that looks very bumpy and uneven. This is why a proper subbase is required to replace a lawn with artificial grass.
Eliminate the Weeds
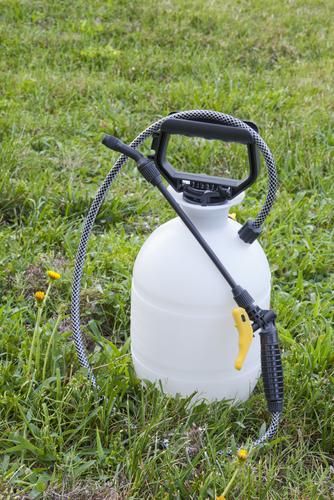
Anyone with a driveway that has even the slightest gap between the paving slabs or bricks will know all too well that weeds can be an extremely frustrating and persistent problem if not dealt with. Even the smallest of spaces can be enough of a gap for weeds to take root, start growing and upset the look of your pristine artificial lawn. Because synthetic grass allows drainage, the ground below your artificial lawn will not become completely dehydrated. Good for ecology; not so good for weed control.
The option of a specially designed membrane to prevent weeds from intruding on your artificial lawn will certainly slow down, if not entirely stop, any unwanted weeds. The weed membrane layer should be installed below your new artificial grass to help keep those pesky weeds at bay!

Levelling Out the Playing Field
Before laying your artificial lawn, it is vitally important to ensure that the ground you will be laying it on is as smooth, level, and even as possible. Make absolutely sure that there are no lumps, bumps or stones that will make your new lawn look uneven in the future. These will be much harder to deal with once the grass is in place, so it’s a lot easier to deal with it at the earliest stage. This kind of checking and preparatory work will not only allow your artificial grass to settle easier, but it will also help with drainage and will look much more aesthetically pleasing.
Subbase For That Perfect Look
Once you have levelled out your soil, apply a thin layer of crushed granite stone (or other crushed stone aggregates) to consolidate. We recommend a 25mm layer (no more than 50mm maximum depth) for a solid base with good drainage. Drainage is important to keep your lawn looking its best all year round.
You can now also add a Geotextile fabric layer to stop any determined weeds from poking through the soil and a sand or shock-absorbing layer to help improve the feel of your new lawn underfoot. When adding the weed membrane at this stage make sure it is pinned into the ground as tightly and evenly as possible for the best possible finish.
Artificial Grass Installation
After everything has been smoothed out, all that remains is the installation of your artificial lawn. Full installation instructions can be found here, and as you will clearly see, it is much easier than you may have first thought!
Just like most other things in life, it is not the process that is difficult; rather, it is the preparation that requires vigilance. While the process involved in the preparation for artificial grass installation might seem rudimentary, get it right and your new garden will look every bit as good as you expect it to.
For more information, please contact our team today on 01474 364320.
